NOTE: This tutorial is outdated, and no longer indicates how I make my manips. But there may be some useful tips in it, so I’ll leave it up as it was written.
GIMP is powerful, free image manipulating software. I use it in conjunction with IrfanView and good old MS Paint to make my fembot manips.
This isn’t a full tutorial on making fembot manips, but it covers making shadows and some lighting effects.
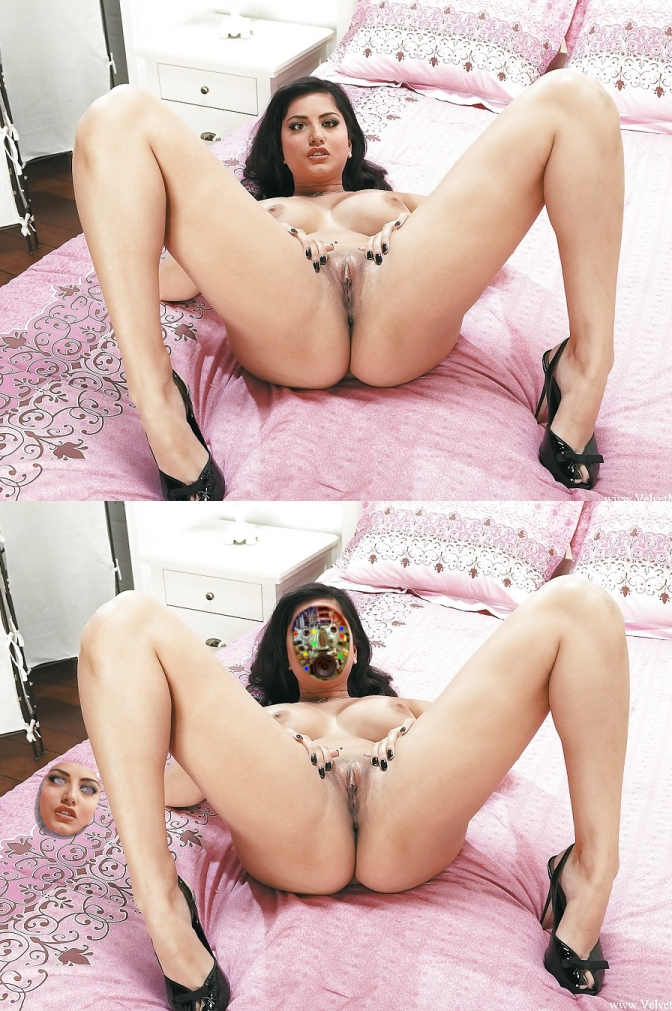
The beautiful manip featured in this tutorial was made by Sarabot, and is already quite sexy on its own.
Click on these images to enlarge them.
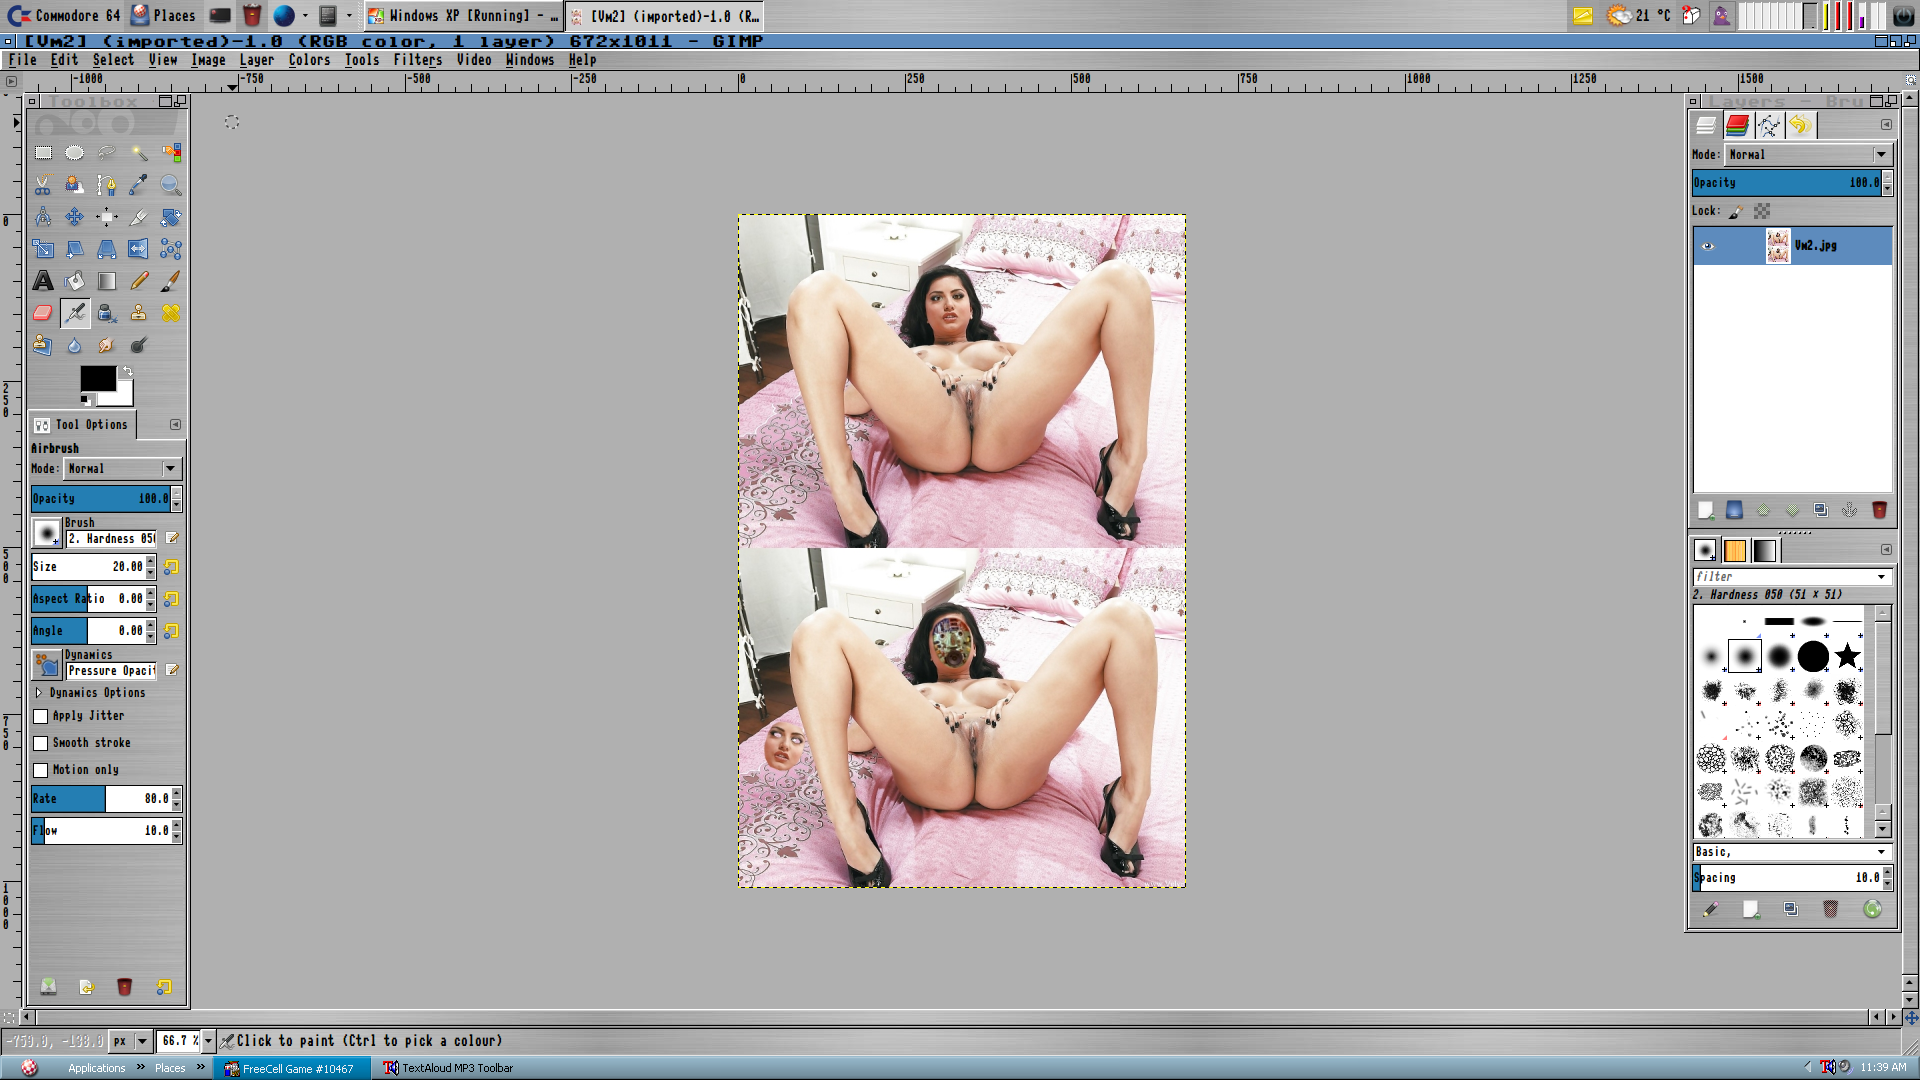
The first step is to load the image into GIMP. Make sure you have a backup of the image saved somewhere else. To make shadow effects, you need to know where the light is coming from, and which directions the shadows fall in the image, so study it closely for this.
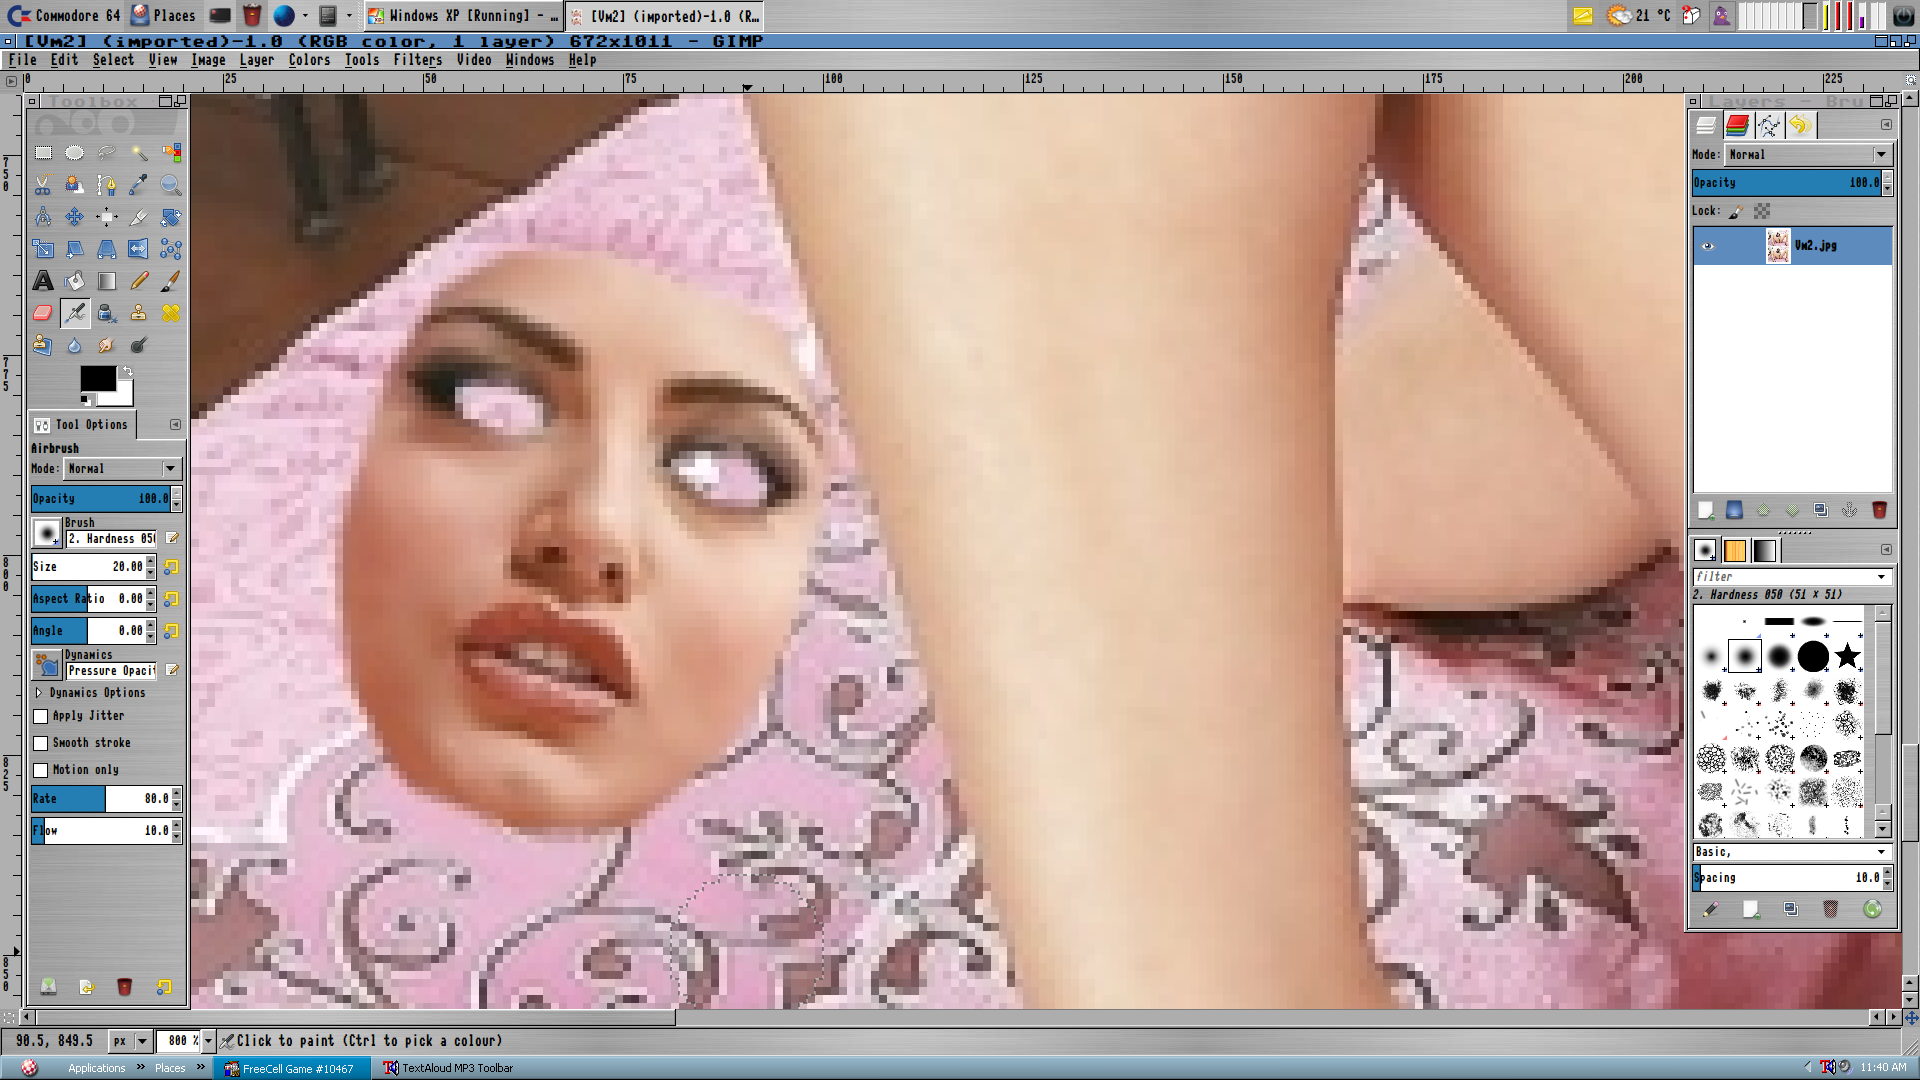
Zoom into the area you want to work on. The + and – keys control zoom, but make sure the main window of the GIMP program is selected first.
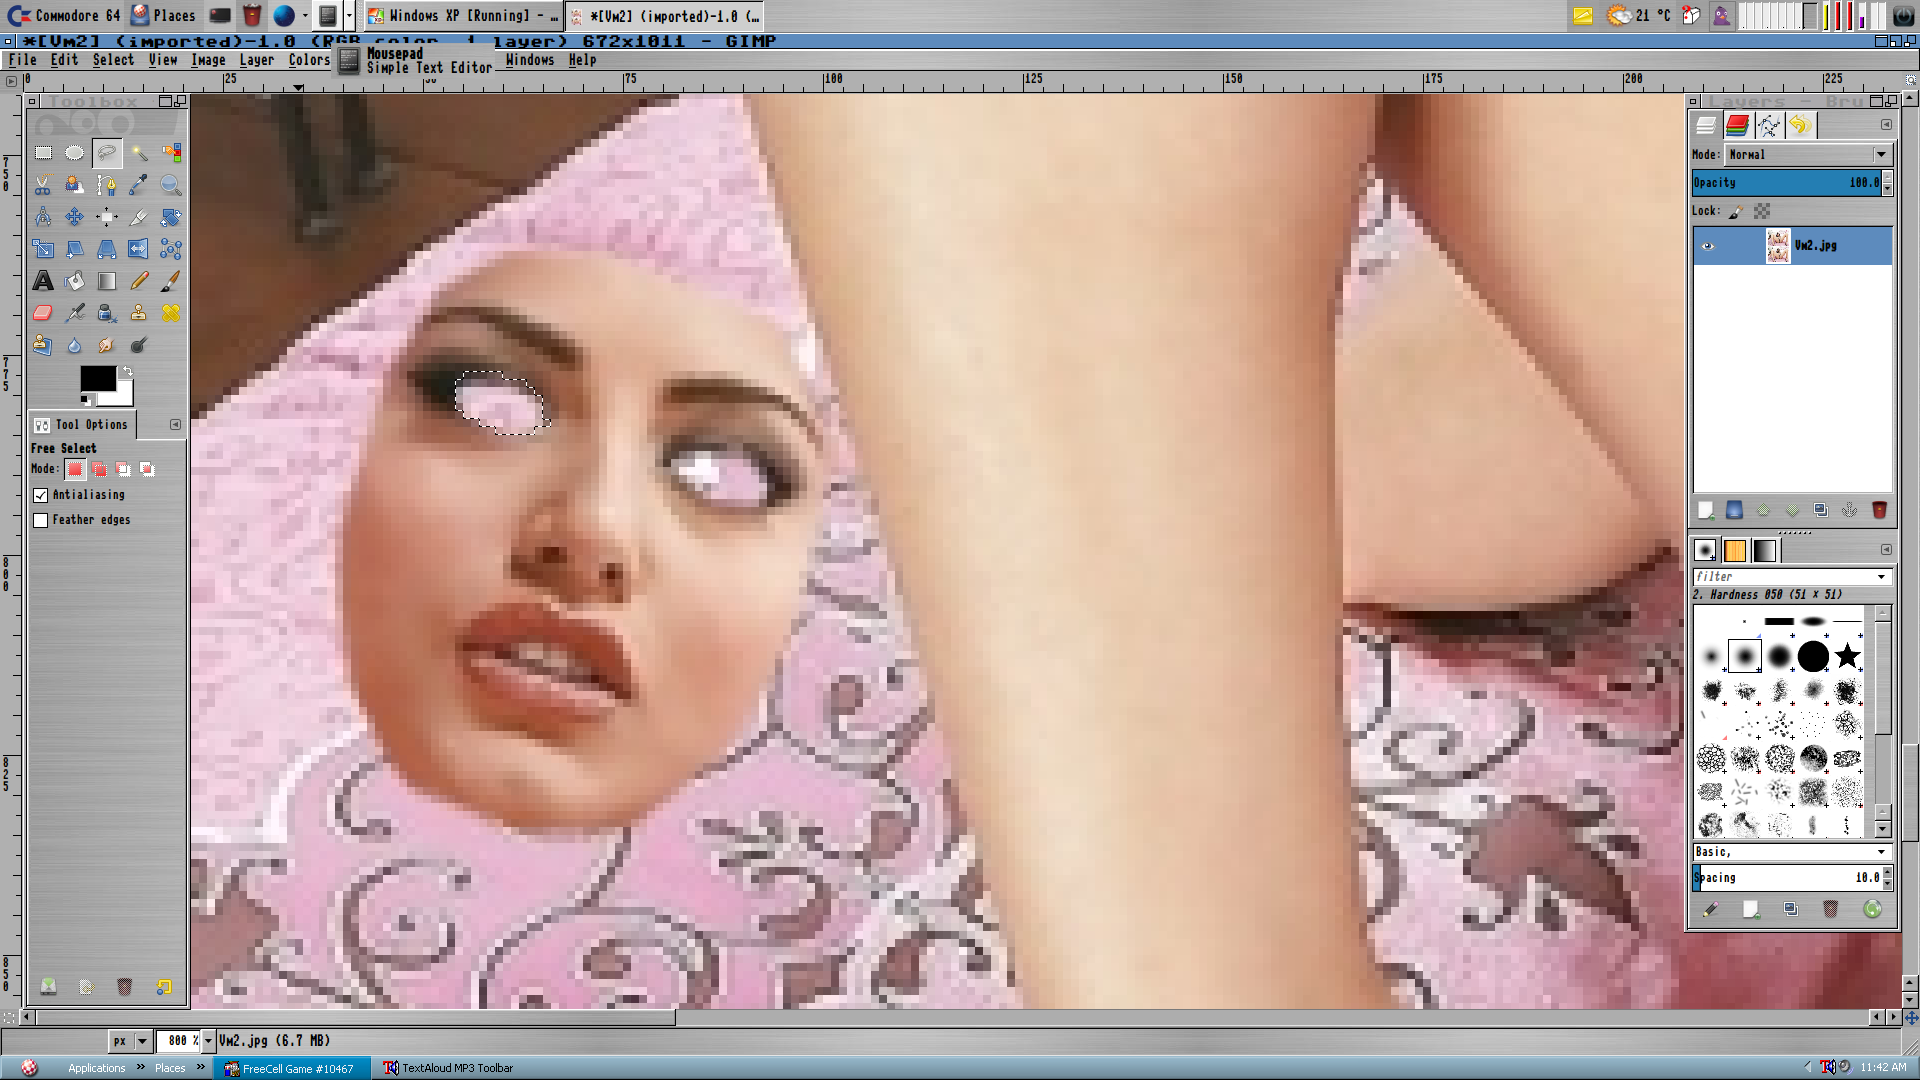
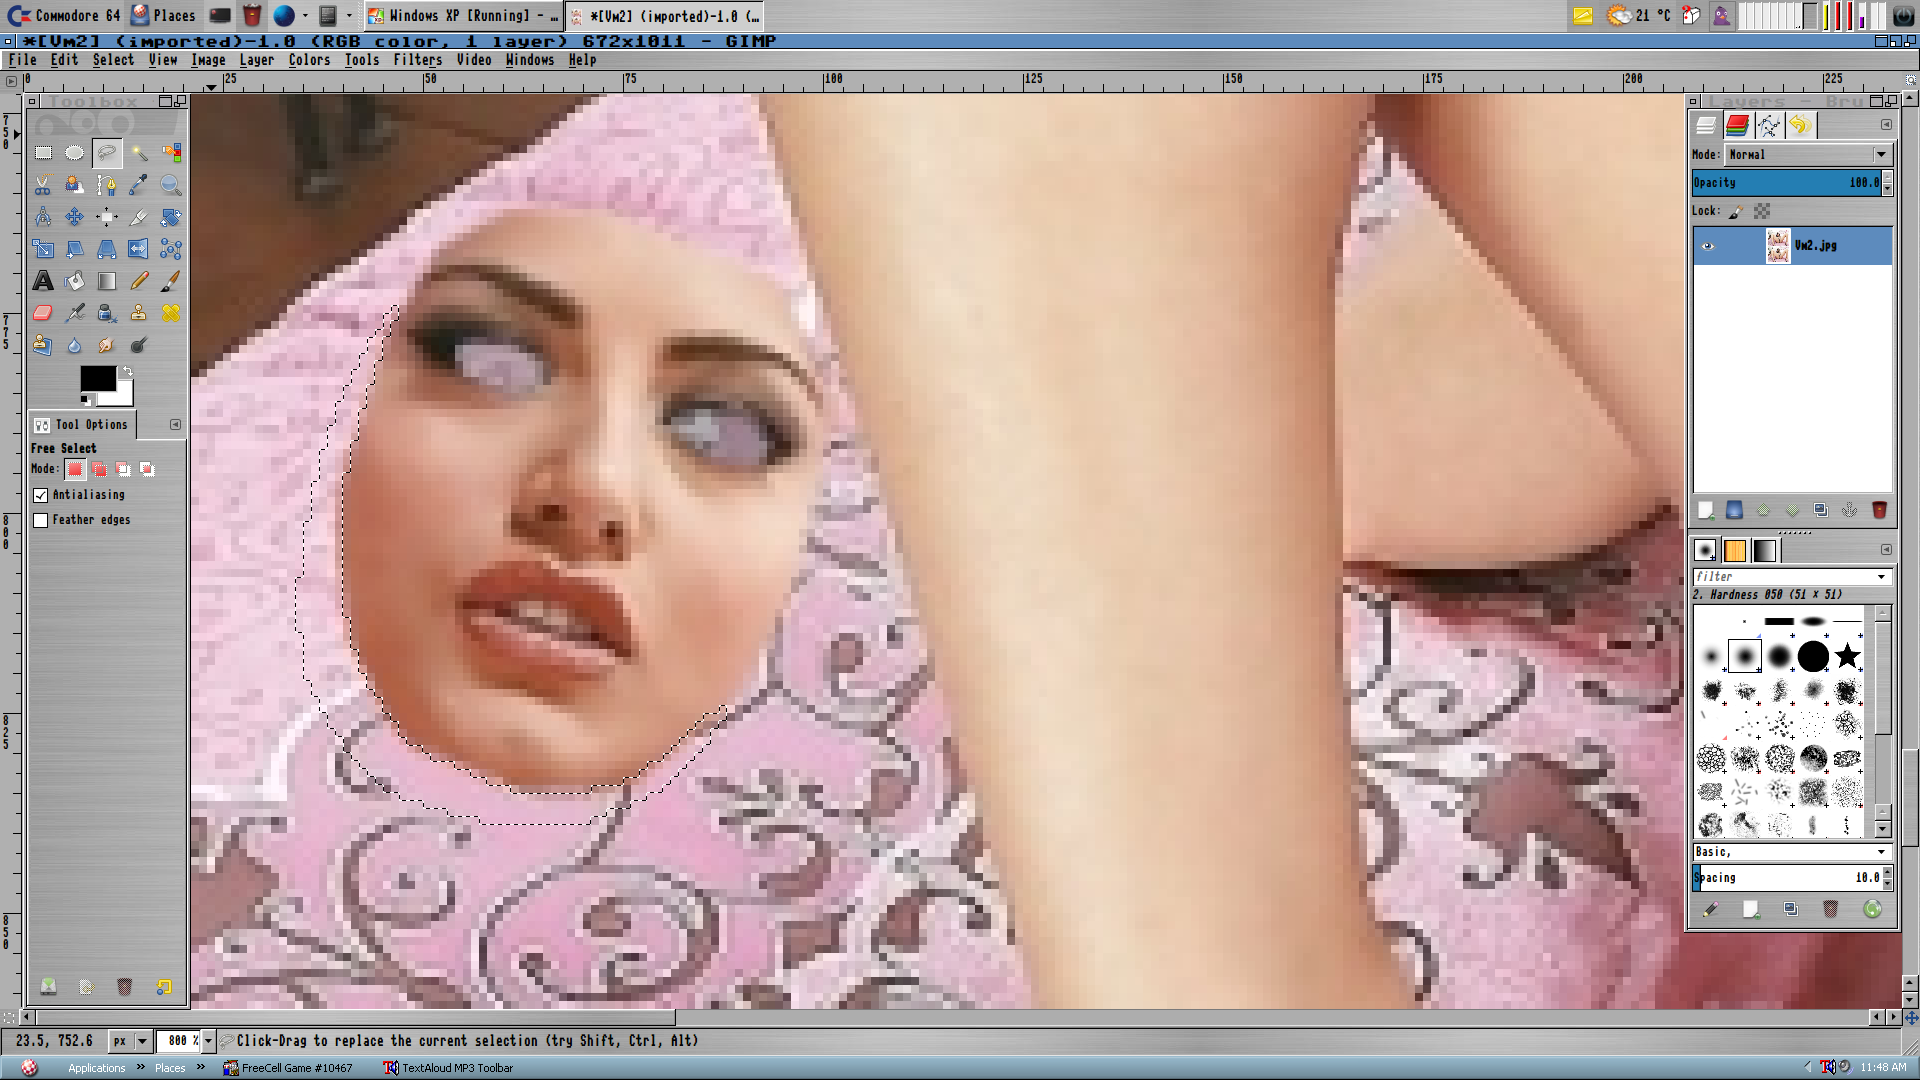
We’re going to make a shadow effect under the faceplate, so use the “Free Select Tool” in the Toolbox. Use the mouse to outline the shape of the faceplate’s eyehole.
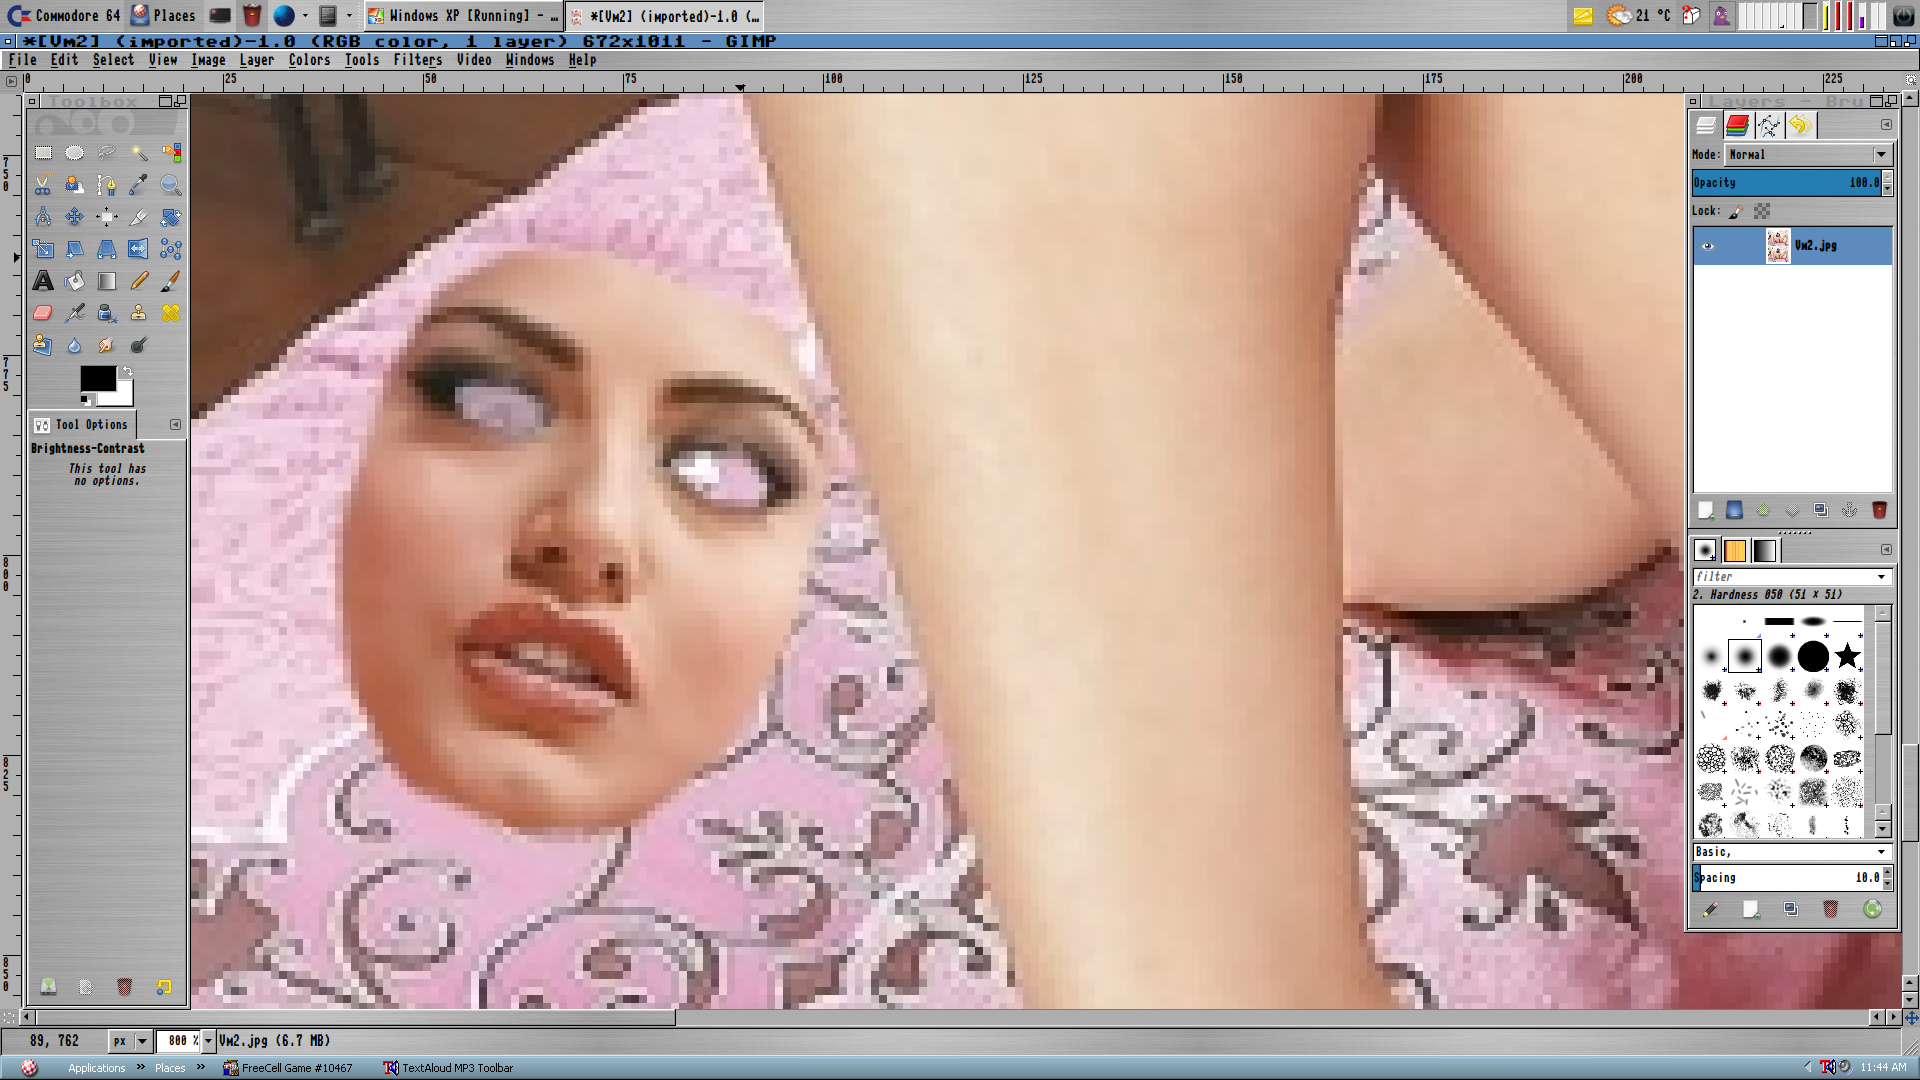
While that area is selected, go to the menu and select Colors, then Brightness-Contrast… Change the brightness to -80, or whatever closely matches the rest of the shadows in the image. Go to the menu and choose Select, then All when you are done. That last step is important.

Repeat the above process for the other faceplate eyehole.
Use the Free Select Tool again, this time to draw the outline of a shadow under the faceplate. Be sure to follow the very edge of the faceplate and draw the shadow direction where the light would fall according to the rest of the image. This may take a few attempts to get right.
Change the brightness of the selected area again to -80, or whatever looks best.
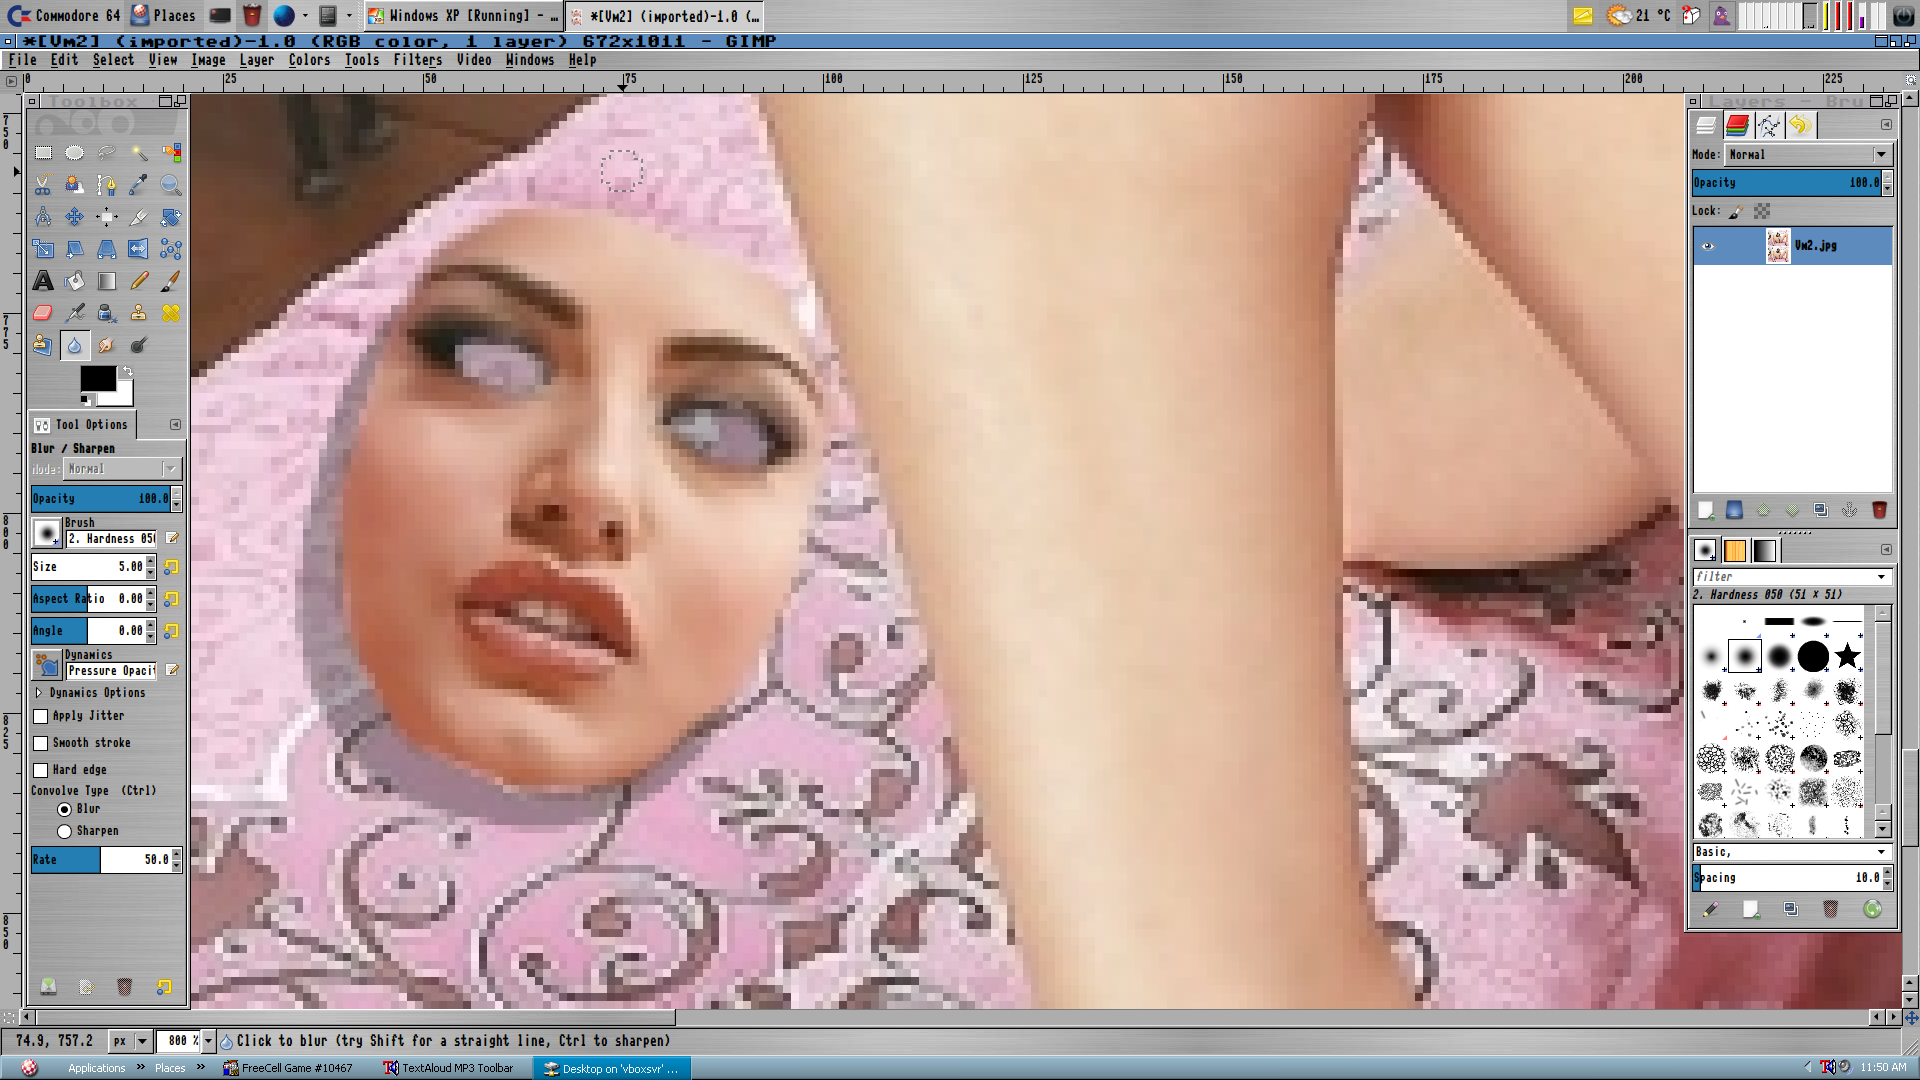
Now select the Dodge / Burn Tool. Change the brush size using the arrows to the right of the number. Change the “Type” to “Burn” and the Range to “Highlights” so you can darken some of the areas closest to the faceplate (like a real shadow). You can play around with some of the other settings to see what they do if you like. Remember that GIMP has an undo feature.
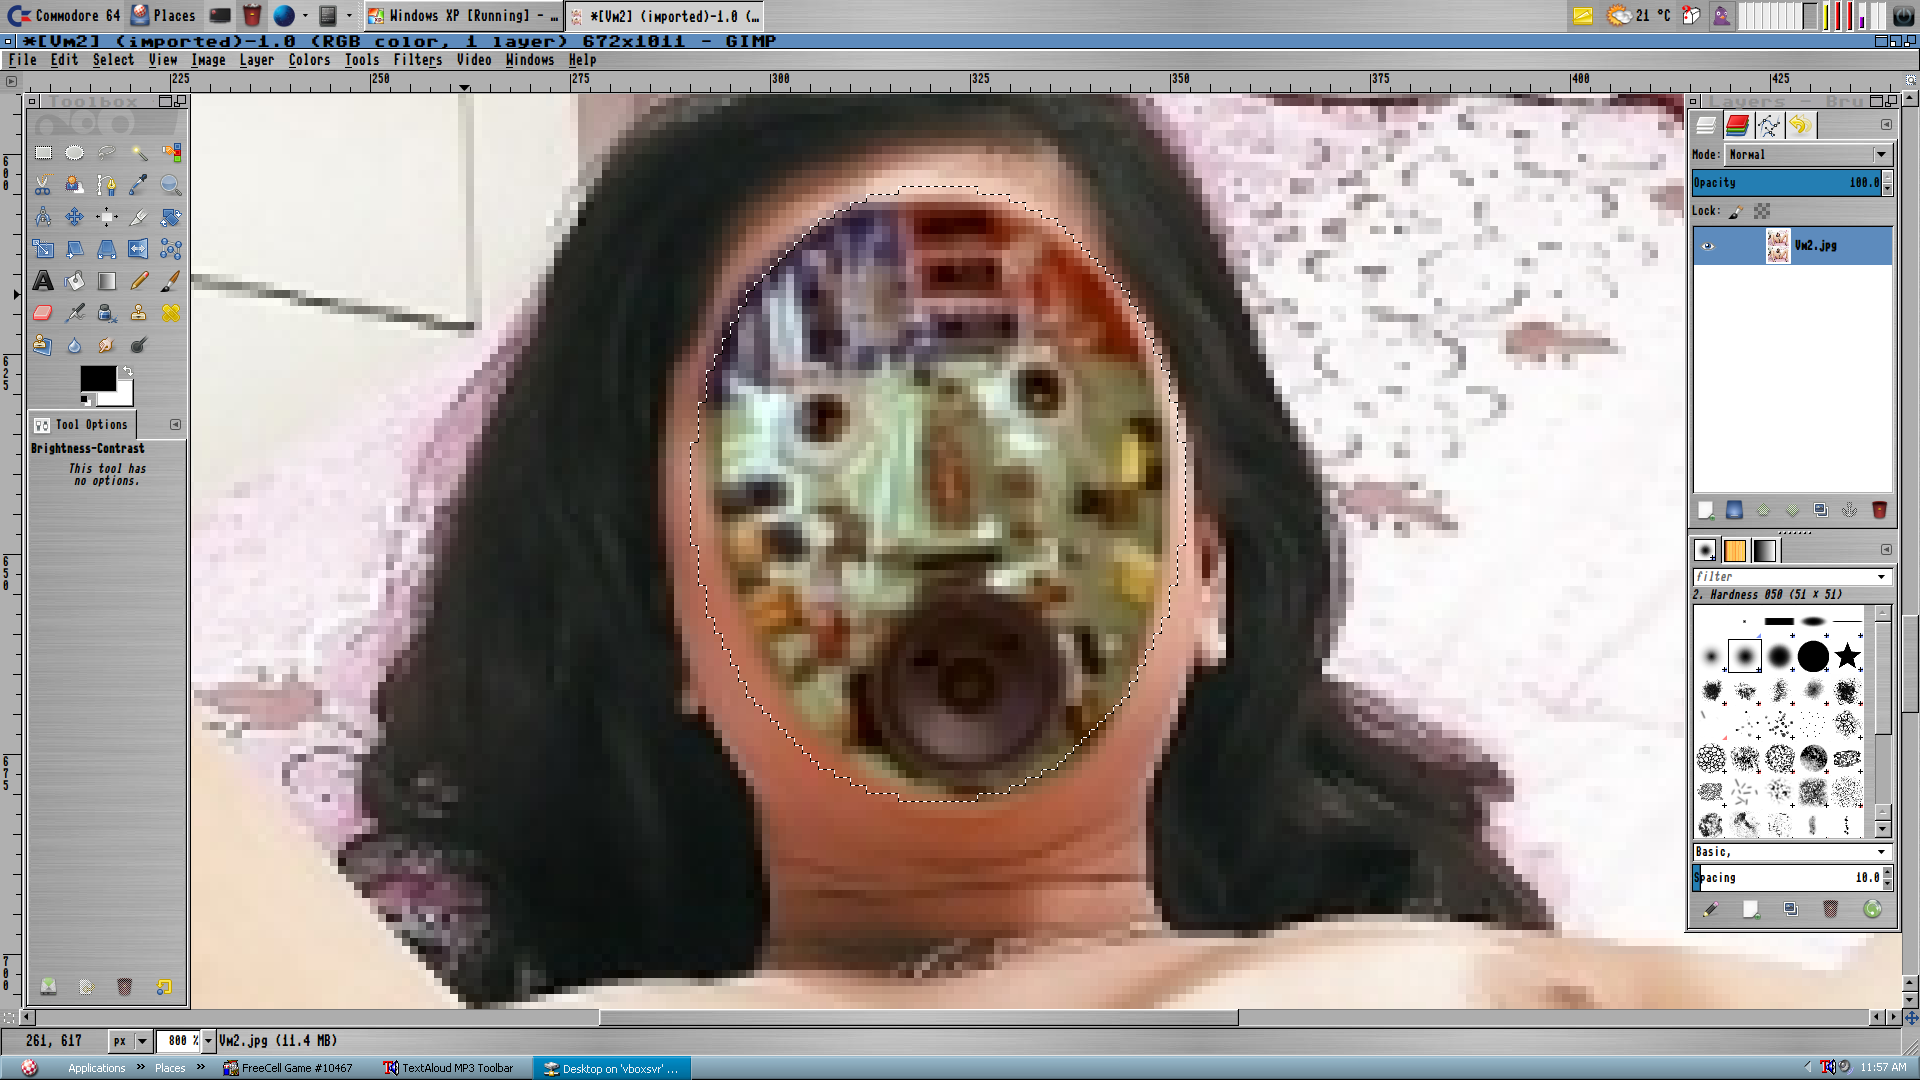
Zoom out and back in on the subfacial electronics. This area is close enough to an elliptical shape that we can use the Ellipse Select Tool. go to the menu and select Colors, then Brightness-Contrast… Change the contrast by +5. Changing the contrast like this to match the surrounding image can help the added electronics blend in better with the surroundings. Sometimes alteration is needed, sometimes none.
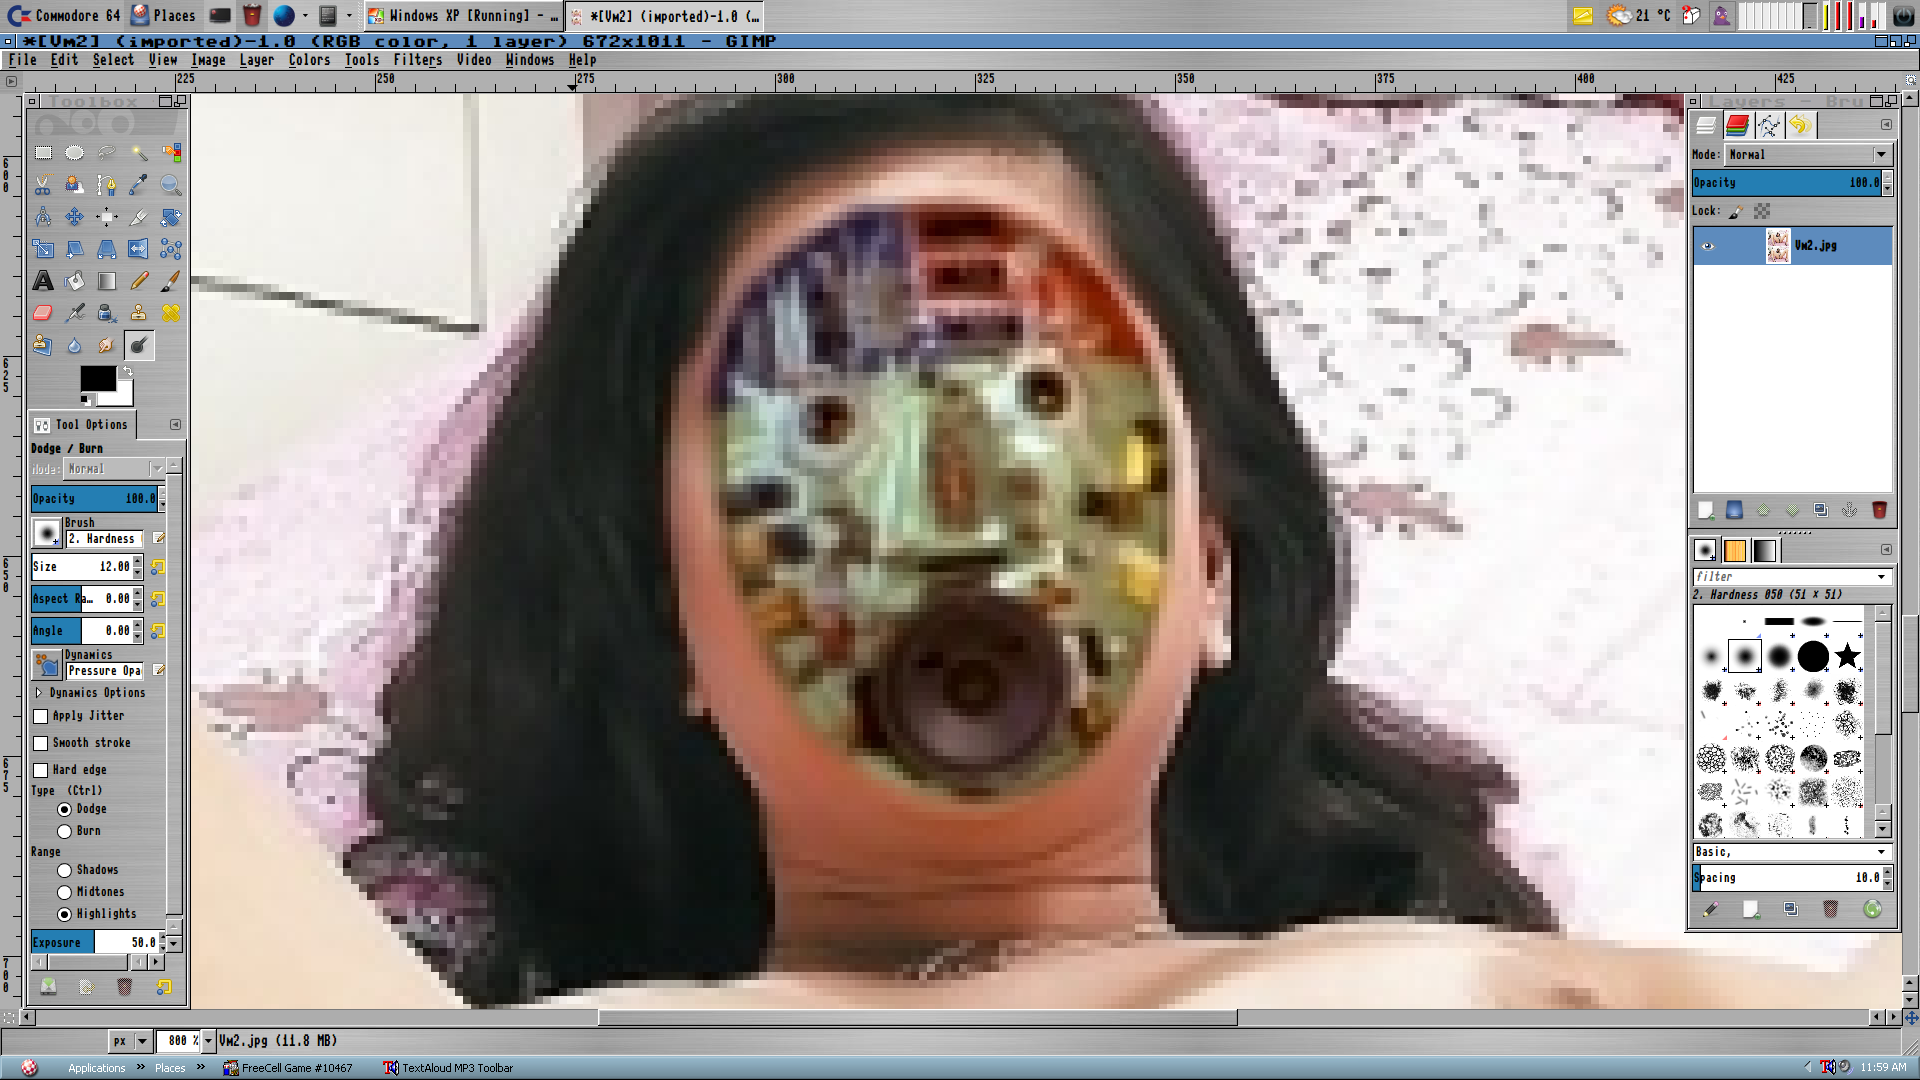
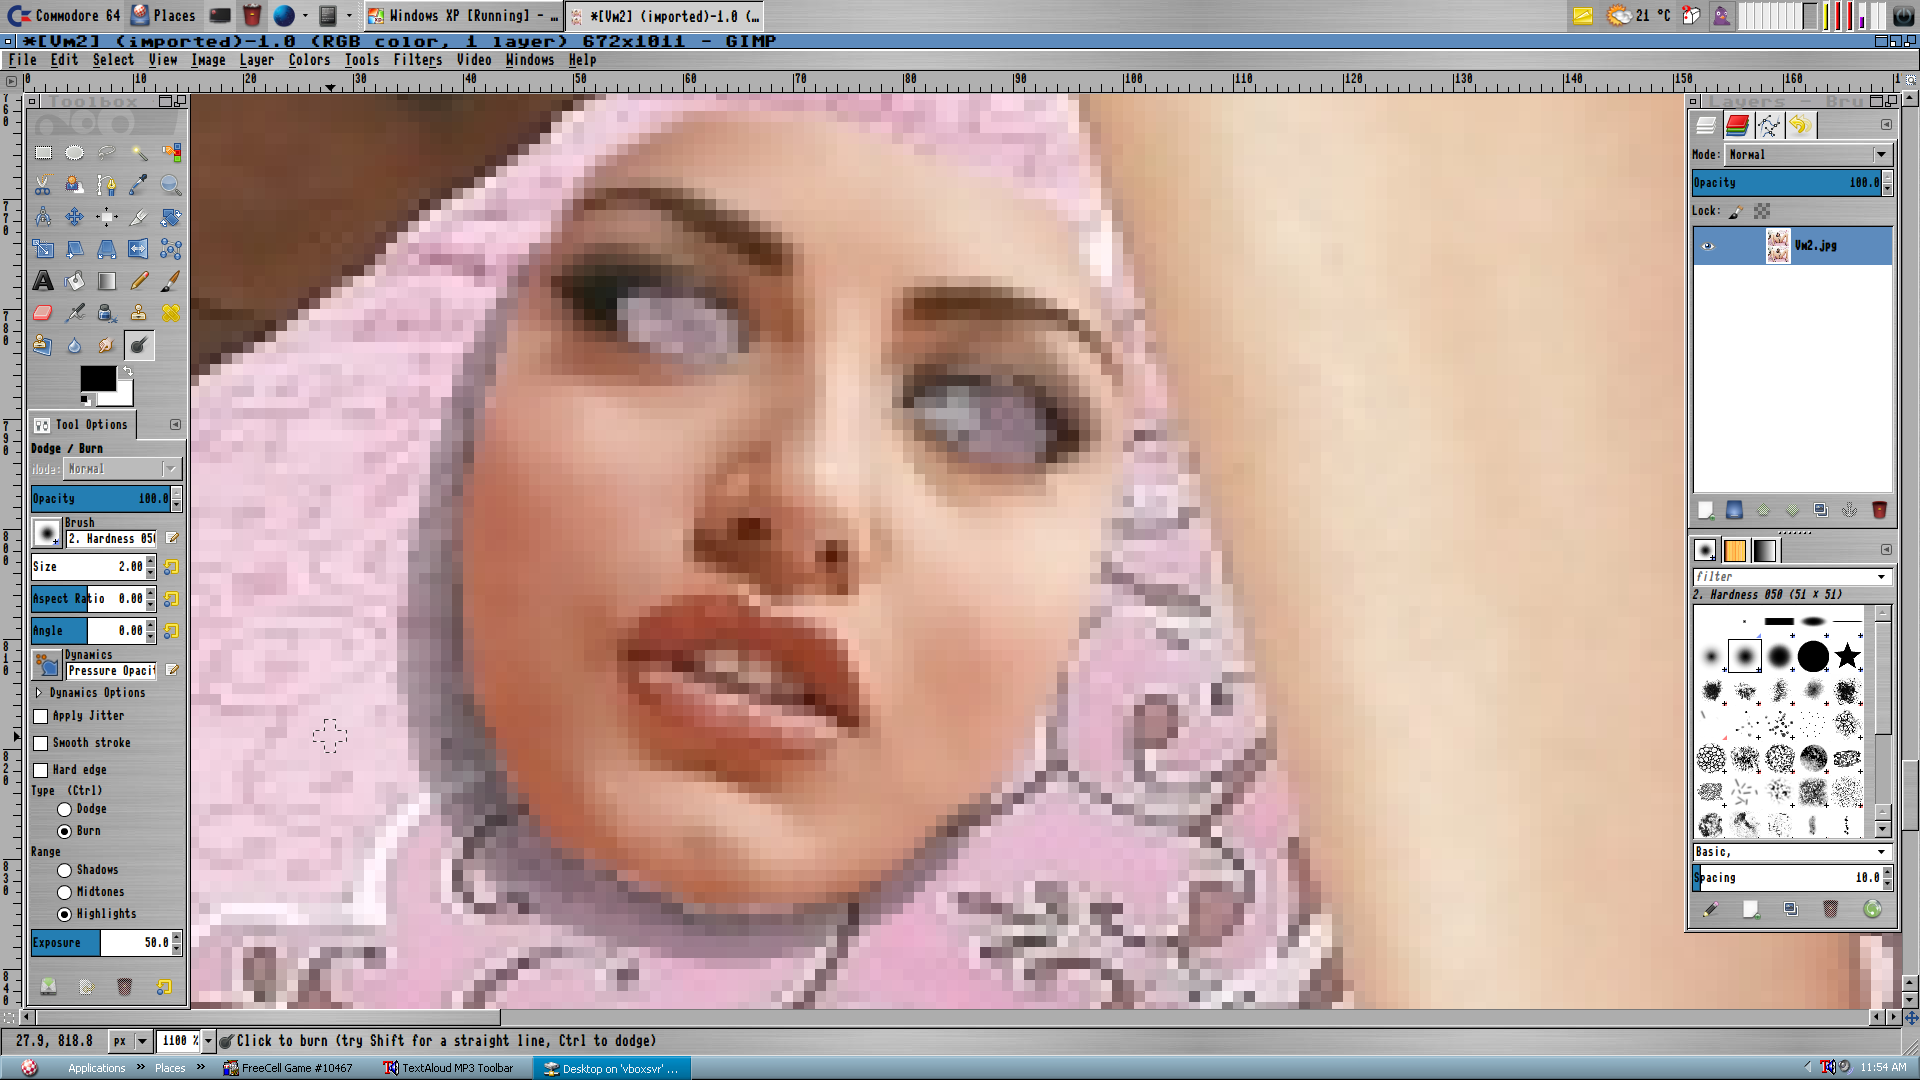
Use the Dodge / Burn Tool again to alter the shadows and light to match the surrounding image. (sometimes it’s easier and better to simply flip the electronics image before manipping it in.) Use a bigger brush size. Dodge means lighten, Burn means darken. A Burn with a brush size of 5 was added at the very top of the electronics to make a shadow appear at the top.
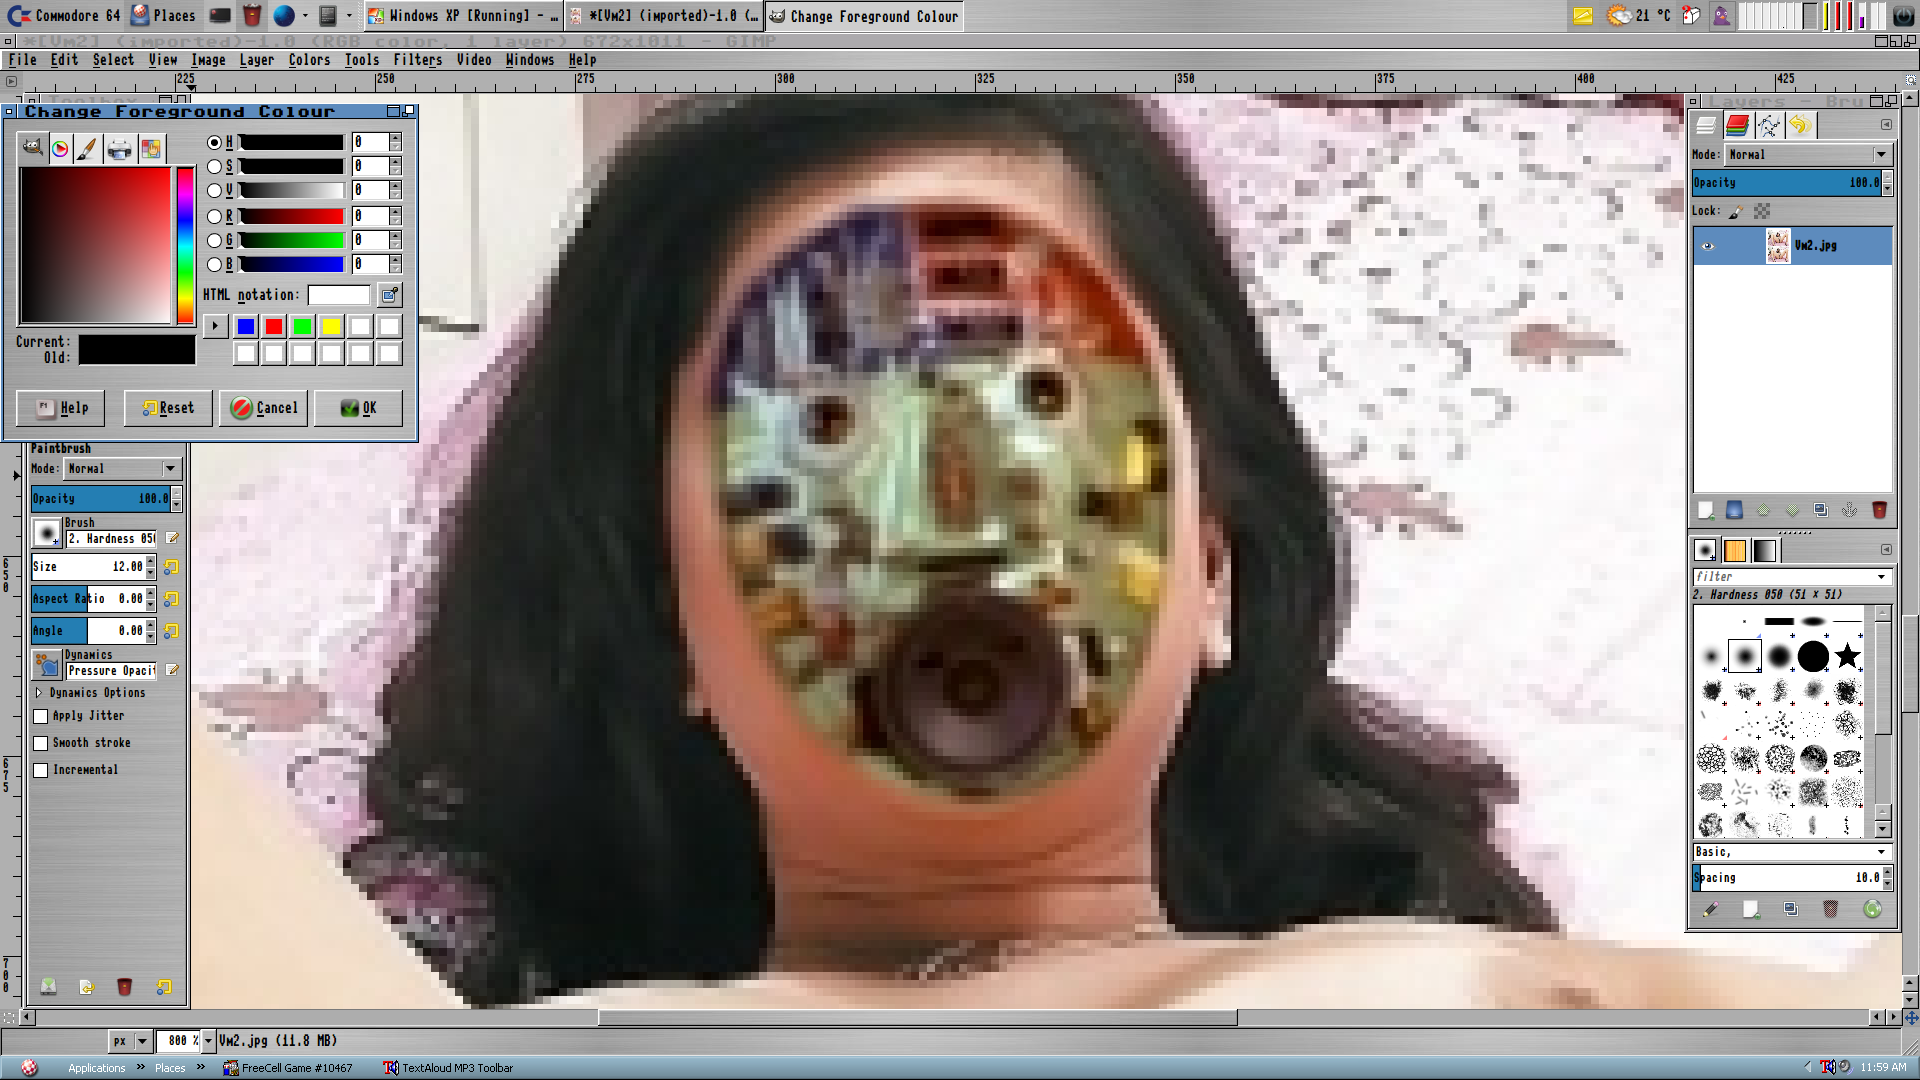
If you want to ad LED effects into the electronics, Select the Paintbrush Tool and change colours using the Foreground & Background colors button.

Pick a brush size that looks good to you, and stick to primary and secondary colours that LEDs are made in, like red, green, yellow, and blue. A single click with the default paintbrush style looks great. This will look fine as long as your source image doesn’t have a certain coloured tint to it.
Zoom out and see how the image looks as a whole. When you are happy with it, go to the menu and select File, then Export As… Choose to export the file as a .png file with a compression level of 9. Saving as a .jpg degrades the image quality each time it is saved, and also degrades the quality and sharpness of the colour.